by admin | Oct 8, 2010 | Gluing
All joint surfaces or edges have to be glued to each other. The sheets of hull to the bulkheads and the cleats, and to the backbone in addition to to the stringers or the bulkhead doublers also.
Before continuing the second layer of the radius skin, I have to do a lot of things inside, especially the gluing of the junction. Waterproof (in one direction) covers for avoiding moisture condensation to the surface before winter is coming.
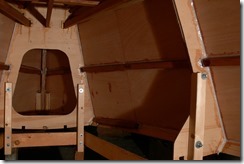
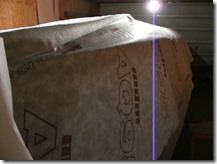
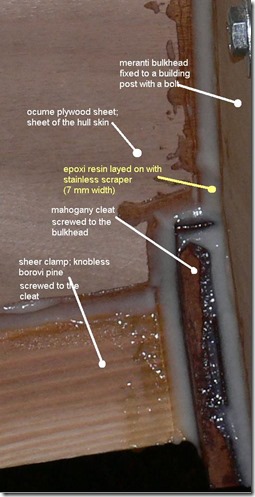
Gluing the fillets on the junction of the perpendicular surfaces inside under the hull (upside down) is quite a boring work to do. Lots of work without spectacular result. Filling of the screw head holes (outside of the hull) is a little bit more boring activity. Sanding the surplus glue material from the skin – it is a forsooth man-sized task; in addition to the winter is coming, this way the tools and equipment must be covered for prevent them against the moisture condensation.(rust). And I didn’t mention the temperature. Below 18°C if the relative moisture content is higher than 60% it is a challenge to glue. You can try it, but no there is no way to get proper result. Therefore, I heated the stove from 0°C to 20°C.
An insulated and conditioned hangar could have made my work much more productive.
by admin | Sep 29, 2010 | Hull
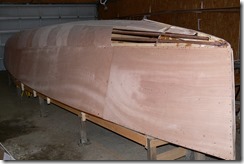
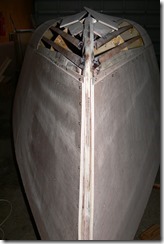
I have started planking the hull from the aft next to the stem therefore the bow remained to the end.
by admin | Sep 21, 2010 | Hull
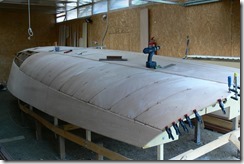
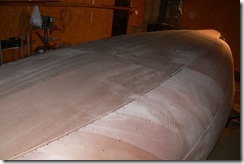
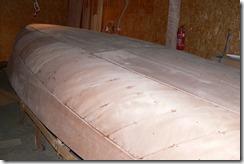
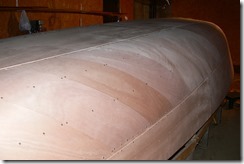
After gluing the flat sheets (side hull and bottom), I’ve started measuring and cutting the slices of plywood sheets to be constructed the radius area of the hull skin. All slices were cut to 24 cm width. The thickness of the radius skin area is half of the flat skin. A second layer to be installed after the first one is completed.
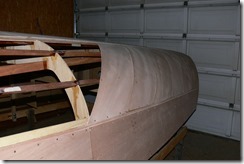
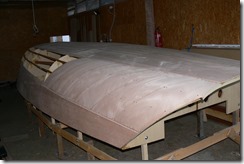
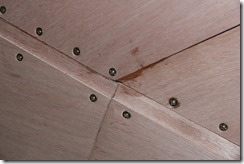
Working on gluing of the radius skin confirms that more different ways exist about how the working phases are following each other in order. Dudley Dix gives you more alternatives for the operation order. If you start fitting the skin with the flat sheets you can give solid, well limited construction for the next procedure – I mean the radius skin fixing up between the flats However it is very hard to fix the ledge of the bent plywood sheets using screws to afford the necessary force down. (Force needs to ensure the banding during the epoxy resin will be hard.) The surface of the edge of the bent plywood sheets will be wavy unless you use screws in every inches. If you don’t want to use thousand of screws you have another choice after gluing: equalize the surface with epoxy fillets and rasp or sand.
If you start setting the skin plywood sheets with the first layer of radius skin sheet, you can easily fix the ledge of the bent sheets with G clamp. No screws are needed. Of course I’ve chosen the first way, because I thought that it will be the easier way. I was wrong. Sometimes the easy way will be the hard. Need lots of work later. (Plaster the crew’s head holes, sanding a lot.)
by admin | Sep 20, 2010 | Hull
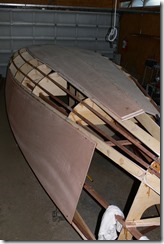
After fitting the lower panels (sheets from the lower tangent stringers to the backbone on both side) I fitted the side panels (flat panels from the upper tangent stringers to the sheer clamp). I applied the same way as I did with the lower panels.
by admin | Sep 16, 2010 | Hull
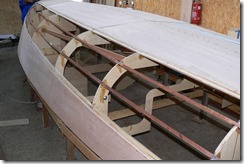
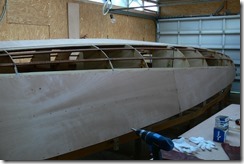
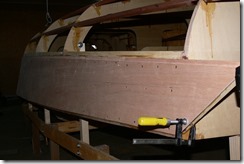
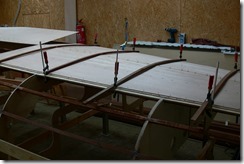
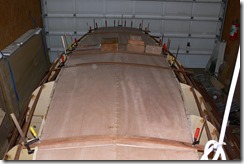
Well, I started to fit the hull skin plywood sheets from the aft. First the sheet has to be supported with a temporary stanchion. I screwed all required screws to their appropriate position before starting the gluing but only to the half deepness of the width of the plywood sheet. After gluing the sheet is dipped down to its position, laid onto the tangent doubler. Before gluing I also check how the sheet fits to the doubler. Some places I had to plan and sand the doubler for the perfect suit. After fitting the screws are screwed into the sheet – a little bit deeper than the surface, let it give small place for a high density resin for filling the hole of the screw heads to be filled in.
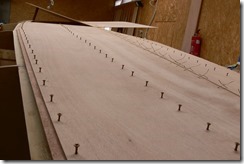
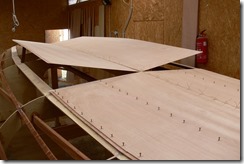
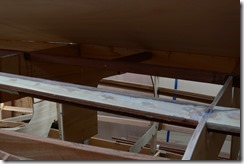
After finishing the fitting of two mirror sheets on both side I also used a bent mahogany spacer what is clamped down, to keep the load force for the required time. Bricks are useful for the loads (Load must be kept in 16-36 hours depends to the temperature and environment conditions)
by admin | Sep 15, 2010 | Hull
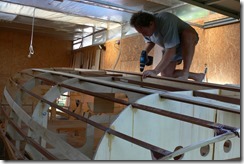
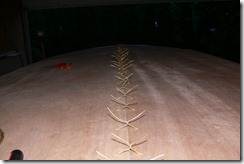
According to the drawings and the designer’s descriptions I stitch the skin sheets to each other and the backbone. Diameter 0,8 mm copper wire I use to do that. Before gluing I’ve drilled small holes to the plywood sheets and the backbone, and stitch them by the wire but not so tight. I need to lift up the hull sheets for gluing. Before fitting the sheets I filled the screw heads holes and other sinkage’s with epoxy resin. I used Treecell and Silicell added to the glue mix to make the viscosity and the thixotropy higher avoiding resin flows.
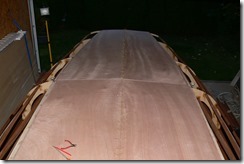
by admin | Sep 9, 2010 | Hull
Cleaning the whole structure from the sand dust. Vacuum cleaner is a good friend. Filling the fillets not only with high density glue, but pegs also. Sinkage of screw heads to be filled with epoxy also before the skin will be glued. Strengthen the sugar scoop extension structure with angle stiffeners.
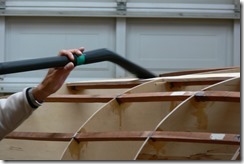
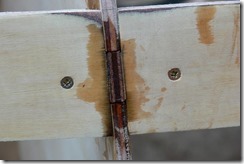
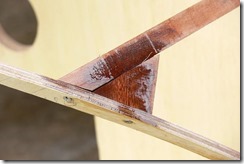
Cutting, planning, sanding, scarfing, milling the sheets.
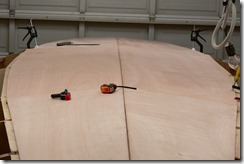
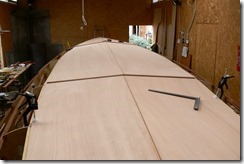
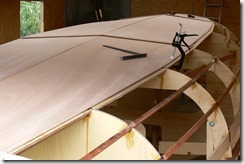
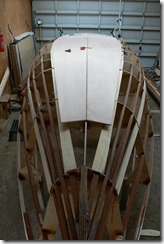
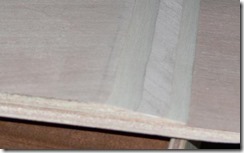
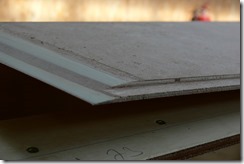
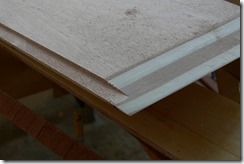
Scarfing sheet joints to the next plywood hull sheet
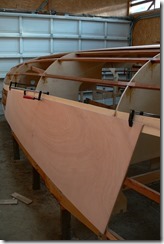
Side sheet
by admin | Aug 24, 2010 | Doublers
Tangents doublers are used to give you wider surface to glue the straight skin and the bent skin pieces together. They are screwed and glued. I also have made the side stiffeners of the sugar scoop on both sides.
by admin | Aug 20, 2010 | Sheer
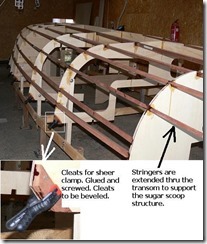
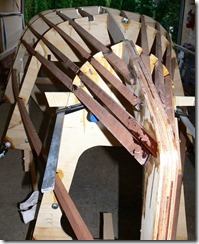
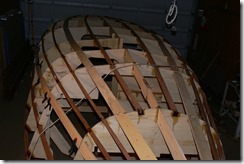
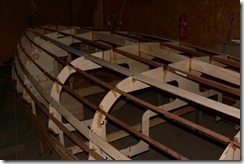
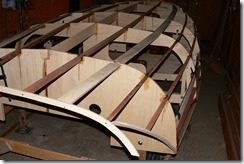
Sheer clamps are glued and screwed on both side. It was very hard job to do. The sheer clamps had to be tensed in two different directions during fitting to the bulkheads and the cleats. It needs three men’s work. I had also made a simple frame for fitting the hull of the sugar scoop area at the stern.
by admin | Aug 8, 2010 | Stringers
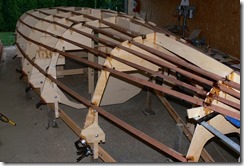
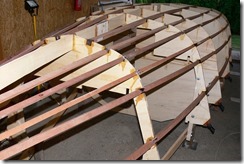
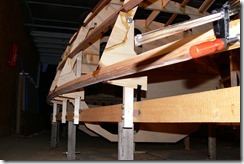
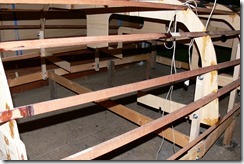
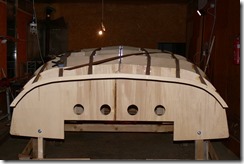
All stringers are in the appropriate position. Sheer clamp cleats also installed.
