Radius skin fitting
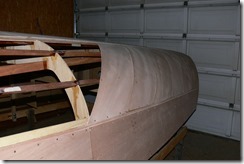
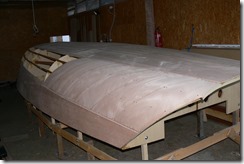
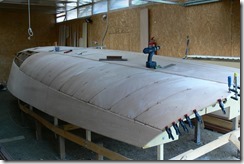
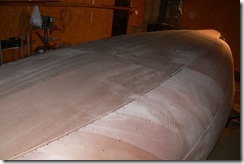
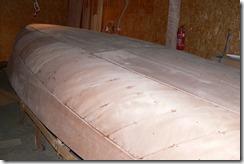
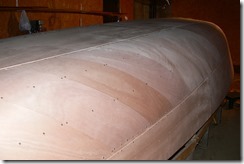
After gluing the flat sheets (side hull and bottom), I’ve started measuring and cutting the slices of plywood sheets to be constructed the radius area of the hull skin. All slices were cut to 24 cm width. The thickness of the radius skin area is half of the flat skin. A second layer to be installed after the first one is completed.
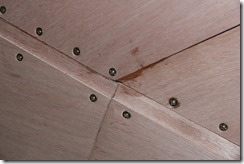
Working on gluing of the radius skin confirms that more different ways exist about how the working phases are following each other in order. Dudley Dix gives you more alternatives for the operation order. If you start fitting the skin with the flat sheets you can give solid, well limited construction for the next procedure – I mean the radius skin fixing up between the flats However it is very hard to fix the ledge of the bent plywood sheets using screws to afford the necessary force down. (Force needs to ensure the banding during the epoxy resin will be hard.) The surface of the edge of the bent plywood sheets will be wavy unless you use screws in every inches. If you don’t want to use thousand of screws you have another choice after gluing: equalize the surface with epoxy fillets and rasp or sand.
If you start setting the skin plywood sheets with the first layer of radius skin sheet, you can easily fix the ledge of the bent sheets with G clamp. No screws are needed. Of course I’ve chosen the first way, because I thought that it will be the easier way. I was wrong. Sometimes the easy way will be the hard. Need lots of work later. (Plaster the crew’s head holes, sanding a lot.)
